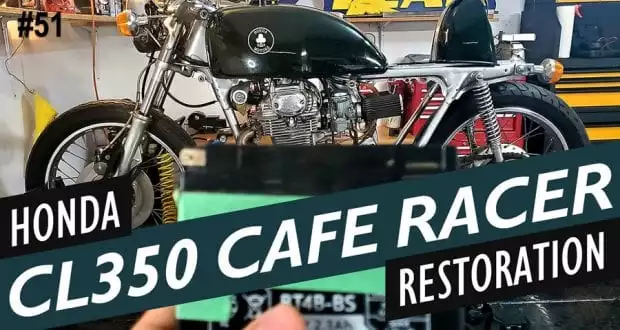
Tires, spark plugs, fuses, and where’s the battery on this Honda CL350 café racer?!
Wrenching on a café racer can be a lot of fun, assuming you’re doing as a hobby and not because the old thing left you stranded. When you have other (more reliable) vehicles to get around on, taking advantage of some quiet time to wrench on an old Japanese motorcycle like this ’73 Honda CL350 café racer can be almost therapeutic.
In my case, the bike in question has been sitting in storage for over four years. It was first put together by a guy who likes working on and restoring old muscle cars. You would never know that he never restored a motorcycle before. He gave it the works. A local shop rebuilt and re-bored the motor. It looks like he stripped the motorcycle down to the frame and had the black frame repainted a metallic grey color. The builder and his girlfriend’s daughter rode it for many years before the daughter sold it to me.
Since many of us can’t be going out and doing all the things we’d like to do, and a lot of us are stuck inside at home and going a little crazy, come hang out with me, and together we’ll start wrenching on this 1973 Honda CL350 café racer. Today we’ll check out the wheels, the spark plugs, a couple fuses, and try to figure out where the battery is at, how to access it, and see if it’s still ok.

Click the little unmute button in the bottom left corner to unmute the video.

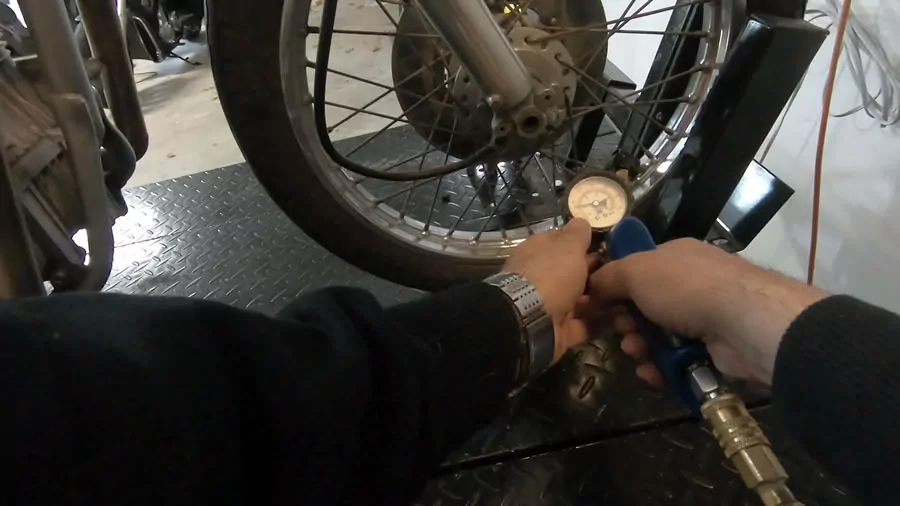
Starting from the bottom
Personally, I like to start with the easiest stuff and work my way up. To me that means just making sure the tires have pressure. I use a cheap Harbor Freight air compressor and this tire inflator nozzle that I love because it can bend around all kinds of angles and shows me the PSI on a gage that’s very easy to see.
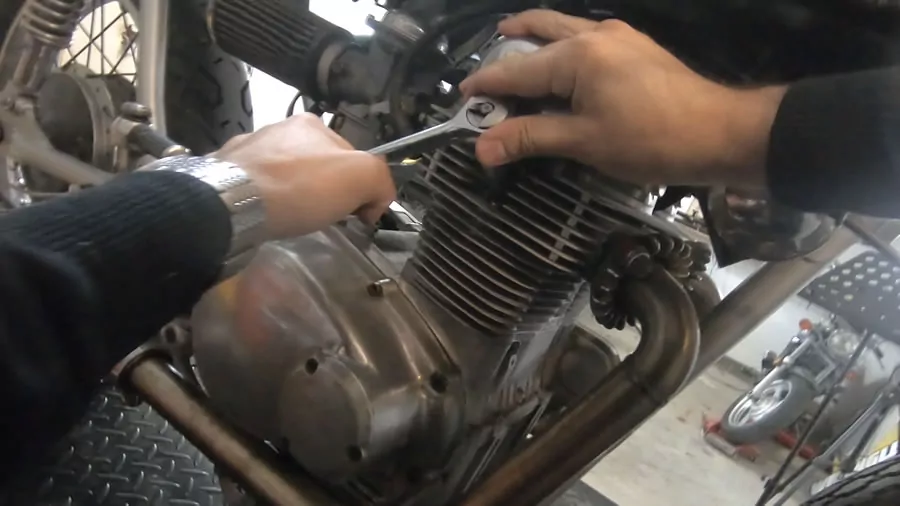
Next up, I decided to check the spark plugs
This was a quick visual check. I didn’t want to spend too much time on the plugs before getting at the battery. At a quick glance, the plugs looked fairly clean, showing no immediate signs of running too rich or too lean. I didn’t take my spark plug gap tool to measure gap as I my service manual for the CL-350 hadn’t come in yet anyway. Sidenote: I probably should have checked to see if Cyclepedia had a manual first anyway.
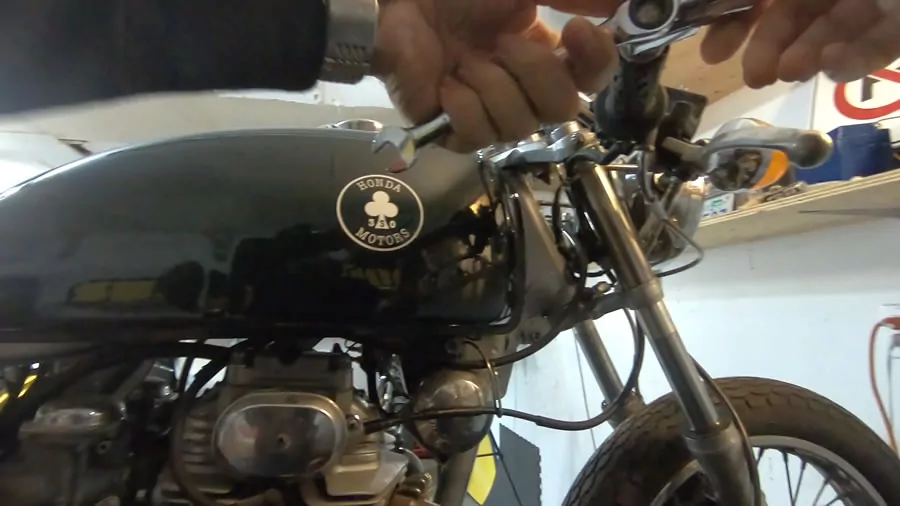
Floppy bar-end mirrors drive me crazy
Loose mirrors always irritate me, so before I could work on the café racer any further I needed to tighten this one up. It was loose in two places: at the handlebar, and then a pivoting point. The first required a wrench, the later an allen key.
I use ratcheting wrenches to save time, and these metric allen keys with rounded heads so that I can use the keys from a wider variety of angles, which makes my life a lot of easier when working in hard to reach places. This mirror was pretty easy to deal with though.
What’s going on with this Honda CL350 cafe racer’s battery?!
Since I couldn’t get the Honda CL350 café racer to kick over, I decided to see if I could get enough power to the battery to try using the electric starter, but the battery was completely dead. Since recharging or worse, ordering and waiting for a battery takes time, I decided to quit beating around the bush and start trying to get access to the battery.
The solo seat came off by hand, as did the little “butt-pad” also came off by hand, although this at least was held in place by a snap button system that the builder had used. Smart. I like it because it will stop that piece from flying off if I ever have to tow the motorcycle again, whereas I need to remember to take the seat off if I’m going to be towing my motorcycle in Toronto or the seat will fly off.
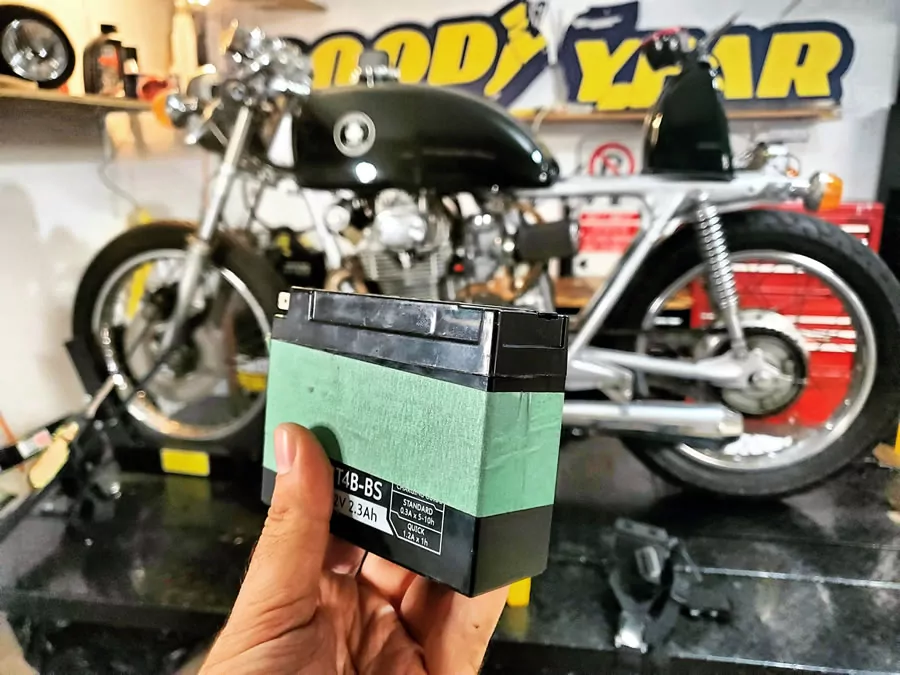
Finally after poking around, I found two nuts which seemed lighter than the rest and thought, “this must be it.” After removing those, I found the smallest battery I had ever seen. It was so small I thought it must have been a little lithium battery, instead it was a regular YT4B-BS acid battery, and the most adorable battery I have ever seen.
Unfortunately, the cute little battery read 0 volts, meaning it was completely dead. Even hooking it up to my special desulphating motorcycle battery charger couldn’t bring it back to life. Bummer. Time to order a new battery.
Stay tuned…
I really wanted the first part / first episode of this new series to end with us at least hearing the little cafe racer roar to life, or maybe just purr, if only for a moment. Unfortunately, that wasn’t the case. Stay tuned though, because in the future I’ll be:
- Flushing the brake fluid and checking the brake pads
- Changing the oil and cleaning the oil filter
- Draining the gas tank and the carburetors
- Installing the new battery and getting her to fire up
The last one is the one I’m most excited about! If you’d like to keep up with the latest in this project as it happens, be sure to join the mailing list (box in the side bar, or keep scrolling if you’re on a mobile device)! Better yet, you can also subscribe to YouMotorcycle’s channel on YouTube.
UPDATE: See Part 2 – Bleeding the CL-350’s brake line.
Have a question or something to say? Leave a comment down below!
Update: See Part 2 of the series, where I bleed the brakes on this Honda CL-350.