
Like most motorcycle manufacturers, Suzuki agrees that brake fluid should be flushed at least every two years, no matter how your motorcycle is or isn’t being used. In this article and video we’ll be going over how to bleed brakes on a Suzuki Boulevard S40, Suzuki Savage, or Suzuki LS650. Once you learn the process, you’ll see how easy it is to do this yourself.
You can bleed your brakes yourself in 5 easy steps:
- Remove the cover, lid, and diaphragms to access your brake fluid
- Draw out some of the old old fluid with a siphon, syringe, or clean cloth
- Refill brake fluid reservoir with new DOT-4 brake fluid
- Bleed the brakes (follow the process detailed below)
- Top off the brake fluid and reseal everything.


What you’ll need to bleed your brakes
In order to bleed the brakes on a Suzuki Boulevard S40 / Suzuki Savage 650, I recommend the following:
- Brake bleeder kit: I use this on everything from my 50cc Vespa to my 5.4 liter Ford F150 pickup. It comes with a one-way valve so you can get brake fluid out, without allowing air to enter your braking system, which makes life easy.
- DOT-4 brake fluid: Use only DOT-4 brake fluid with your Suzuki Boulevard S40 / Suzuki Savage 650.
- Philips screw driver: To remove the two screws from the brake fluid reservoir.
- Small siphon or syringe: Also not necessary but a time saver, this lets you get more of the old fluid out faster.
- Empty bottle that seals tightly: Nothing fancy, even an old water bottle will do.
- Rags: Anything you have that can keep the very corrosive DOT-4 brake fluid off of your motorcycle.
- Black Widow motorcycle table lift: Not necessary, but it sure makes working on your motorcycle a breeze and it wasn’t too expensive (full review here).
Time needed: 30 minutes
Bad brake fluid is easy to diagnose, and should be flushed out immediately, because the consequences can be disastrous. Lucky, flushing the brakes on a Suzuki Boulevard S40 / Suzuki Savage is easy to do yourself.
- Open brake fluid reservoir
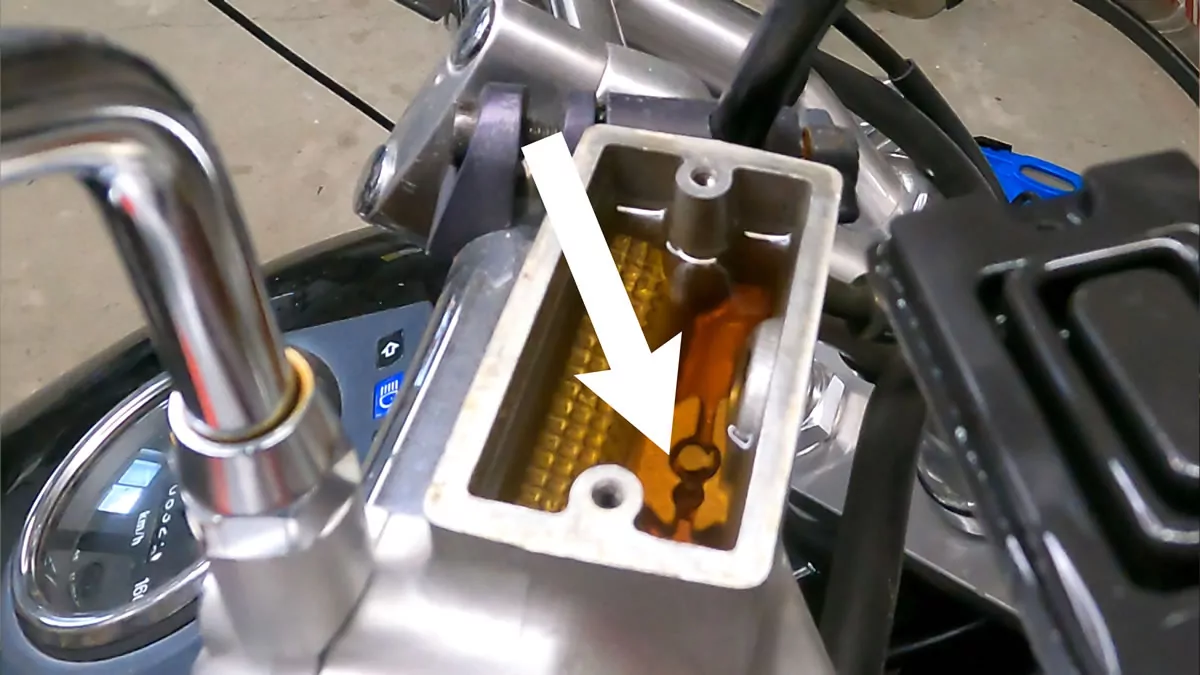
The brake fluid reservoir is next to your front brake lever. Remove the two screws holding the cover in place, then remove the cover, cap, and diaphragm to expose the brake fluid in the reservoir.
Tip: If the brake fluid is an amber color or darker, it needs to be replaced.
- Draw out some of the old fluid
Using an old turkey baster, an automotive syringe, or a siphon, draw out some of the old brake fluid. Be careful not to suck out too much brake fluid and expose the bottom of the reservoir to air (see white arrow). You do not want to let air get into your brake lines or you’ll have a lot more work to do to get it out.
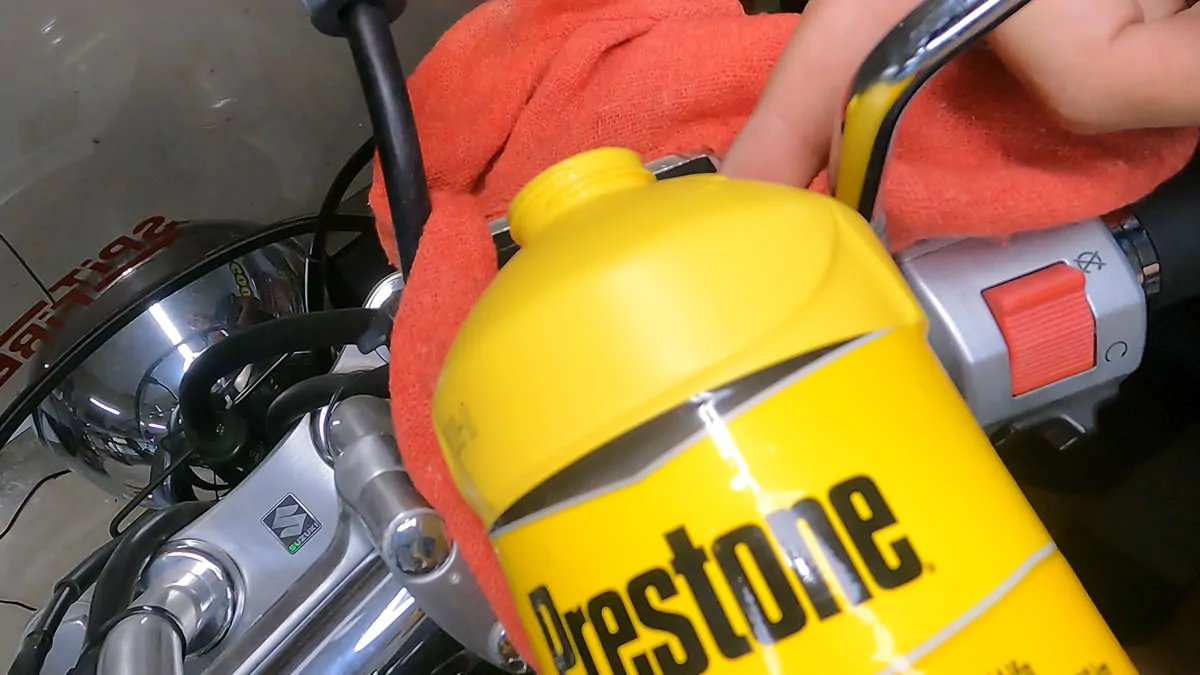
Tip: Start with the syringe part way open, so you don’t create a splash. DOT-4 is extremely corrosive so you don’t want it to get on your motorcycle’s paint or chrome. - Refill the brake fluid reservoir with new brake fluid
The Suzuki Boulevard S40 / Suzuki Savage 650 uses DOT-4 brake fluid. DOT-4 brake fluid is extremely hygroscopic, meaning it absorbs moisture if left unsealed, so you should only use a brand new, unsealed bottle of brake fluid.
Tip: You might want to place some rags around your brake fluid reservoir to avoid any DOT-4 spilling on your motorcycle. - Pump the old fluid out
This is a multi-step process and you should watch the video before trying it yourself.
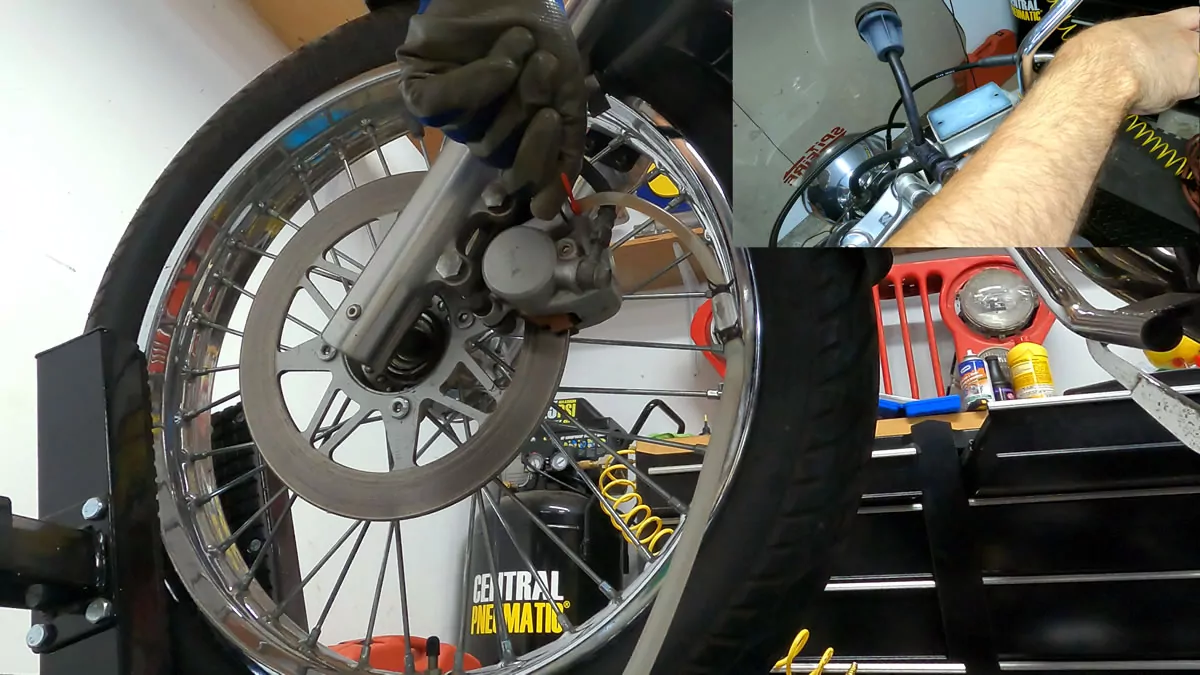
Before starting: Uncover the brake bleed nipple, and put a 8mm wrench around it, attach a hose (preferably equipped with a one-way valve) to the bleed nipple, and secure the hose to the bleed nipple with a zip-tie.
Pump the brake lever between 3 to 5 times to build up pressure in the brake line.
Squeeze fully and hold the brake lever squeezed, then turn the 8mm wrench counter clockwise (lefty loosey). Brake fluid will be pushed out of the brake line into the hose.
Do not let go of the brake lever. Now turn the 8mm wrench clockwise (righty tighty) to close the bleed nipple. You can now release the brake lever. - Top off the brake fluid and reseal everything
Repeat the process over and over, while making sure the brake fluid reservoir never gets too low to allow air to get in the line. You may need to refill the brake fluid reservoir a few times to get all of the dark fluid and air bubbles out of your brake line.
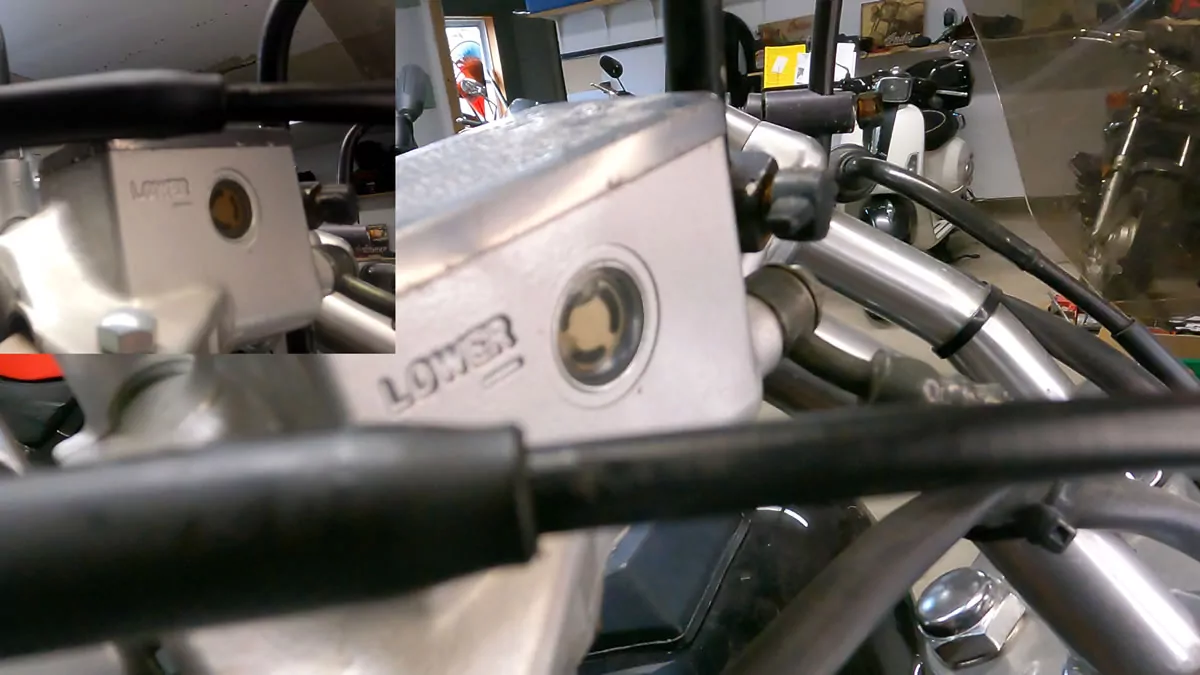
Once done, top up the brake fluid one more time (note the “Lower” limit indicator) and seal the brake fluid reservoir.

How flushing old brake fluid works (extended)
- Press the brake lever down and hold it down, don’t let go. This puts pressure in the system.
- Turn your wrench from the brake bleeder kit around the bleeder nipple to open it up. The pressure from holding the brake lever down will push old brake fluid out of the system.
- Turn your wrench back to tighten the bleeder nipple back shut the bleeder after you’ve gotten some brake fluid out.
- Release the brake lever to let fresh brake fluid from the reservoir to enter the fuel line.
- Repeat until the brake fluid comes out clear and without any bubbles.
Source: How To Bleed Brakes on a Honda Fury
Conclusions
Bleeding brakes is a fairly straightforward exercise, as long as you remember the proper steps. Never let go of the brake lever while the bleed nut is open, and never let air enter the braking system and you’ll do just fine.
For a minimal investment you can get a special hose and some brake fluid and do this yourself, saving you a ton of money compared to having the dealer do it for you. Considering brake fluid should be changed every two years, this is definitely something you should learn how to do yourself to take care of all of your vehicles, not just your Suzuki Boulevard S40 or Suzuki Savage.
Other helpful resources
Check out this article to understand why brake fluid goes bad, what bad brake fluid could mean for you and your motorcycle, and three ways to test if your brake fluid is working properly.
You can also watch the video below:
If you’re looking for more content on Suzuki Boulevard S40 / Suzuki Savage 650 service and maintenance, check out my other Suzuki Boulevard S40/Savage 650 guides including how to change the oil and filter on a Boulevard S40, how to test your brake fluid, how to replace the brake fluid, and how to replace your battery.
Solid video, man! Super straightforward. Gonna give it a shot on my own next time instead of forking over cash.Turkey baster tip – Genius!
Absolutely spot on! Couldn’t find any vids on brake flushes when I last checked a few years back. Super stoked to stumble upon this one. Really helpful!
Thanks a bunch! My Suzuki Boulevard is my first ride, planning to keep it for few more years because its so cheap and no chain maintenance. This will be a big help to keep me safe!
Great vid! Gotta stress, getting that bleeder moving is the key work. Break it, and you’re looking at installing a new (or used if you can find one) caliper. Wishing you a fantastic riding season this year!