Three years outdoors in a cold, wet, salty climate can take it’s toll on a motorcycle wheel chock. Especially one that has never been washed or lubricated. Here’s how to make an old motorcycle wheel chock look like new in 30 minutes.
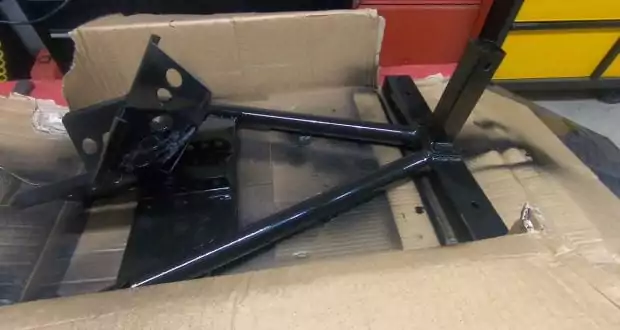
Three years ago I got my Black Widow 2 Piece Motorcycle Wheel Chock from DiscountRamps and it’s been one of my favorite < $100 items ever since. I wrote a review on the motorcycle wheel chock singing its praises. I loved that it gave me a total of 30 different possible configurations, perfect for a guy deals with over a hundred different motorcycles every year.
Despite how much I loved my wheel chock, I didn’t really look after it as well as I should have. I straight up neglected it. I live up in Canada where we use salt on the roads for 5 months out of the year to avoid ice. I used the wheel chock year round without ever once oiling the wheel chock before the winter, or washing it clean afterwards. Surface rust had started to form. After many battles together, it was time to give this old war hammer some love.
I started with some sanding, took a few pieces apart to get them out of the way, and finished it off with a rattle can job. The whole project took only about half an hour.


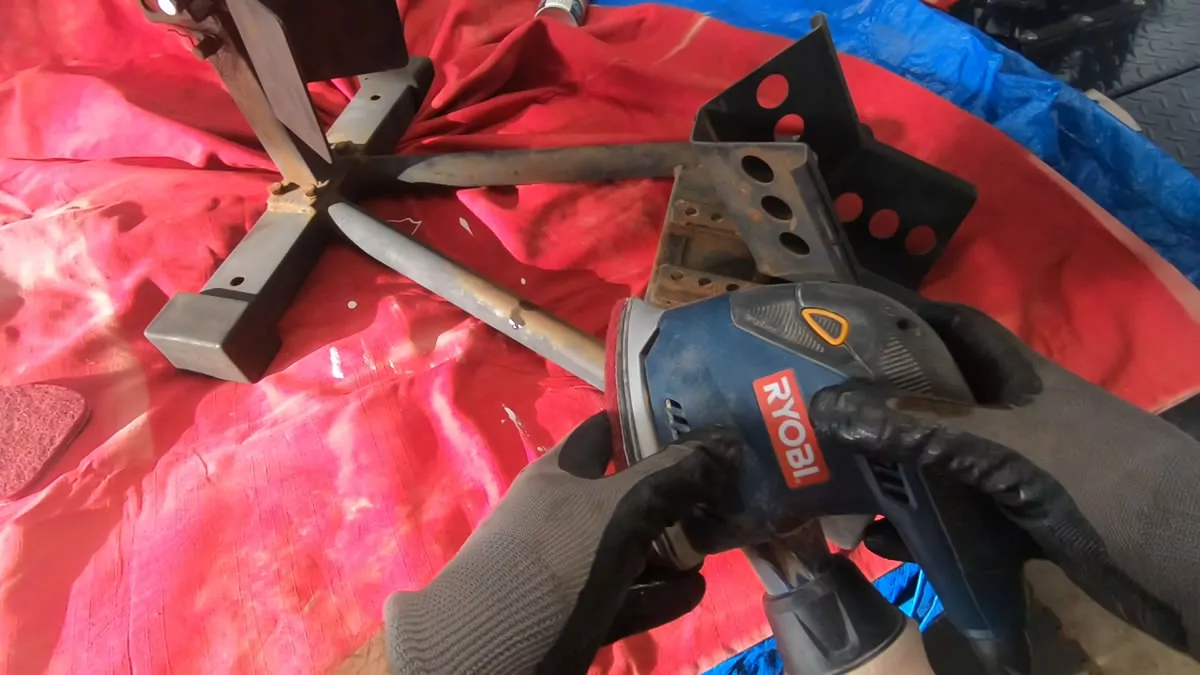
Step 1: Sand the surface rust and old paint
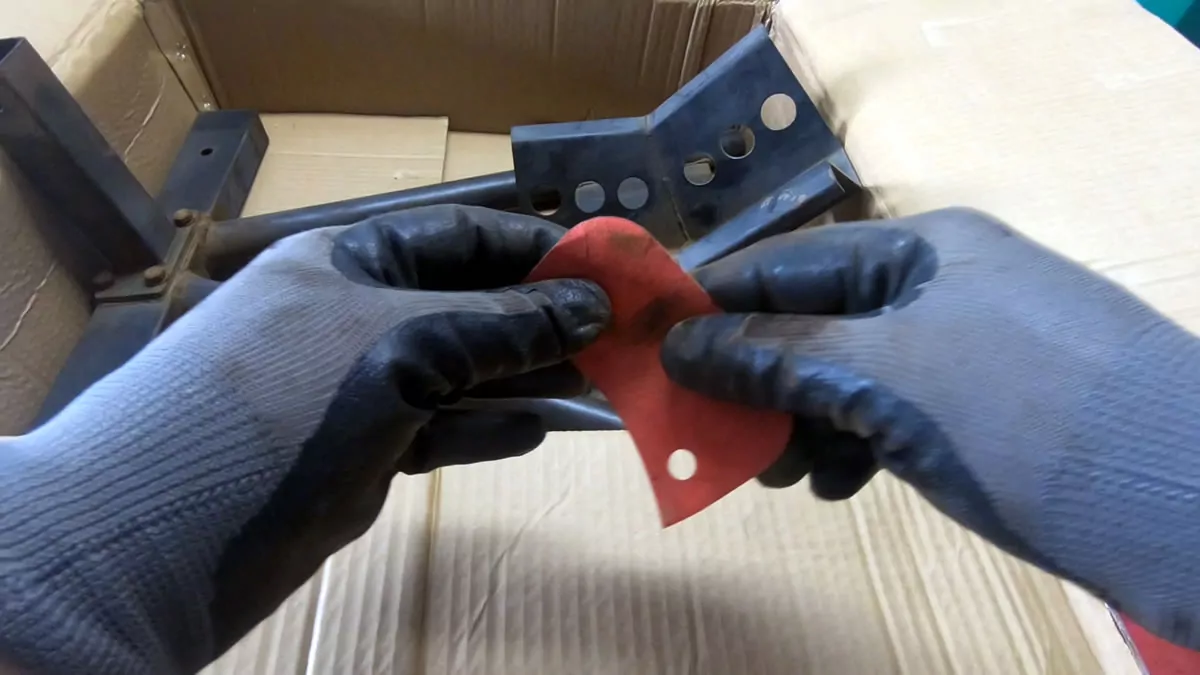
The first thing you’ll want to do is sand the wheel chock. One reason you’ll want to sand the motorcycle wheel chock is because it will remove any surface rust that might have formed before the rust gets a chance to get any worse. If left alone the rust may even cause bubbling under the paint. That’s right, you’re going to be painting soon.
The second reason for sanding your motorcycle wheel chock is that your new paint won’t adhere as well to a glossy paint as it will to a rough textured sanded finish. It’s like when your girlfriend takes a hot shower to open up her pores before she puts on her creams. You don’t really understand how it works, but just trust the process man.
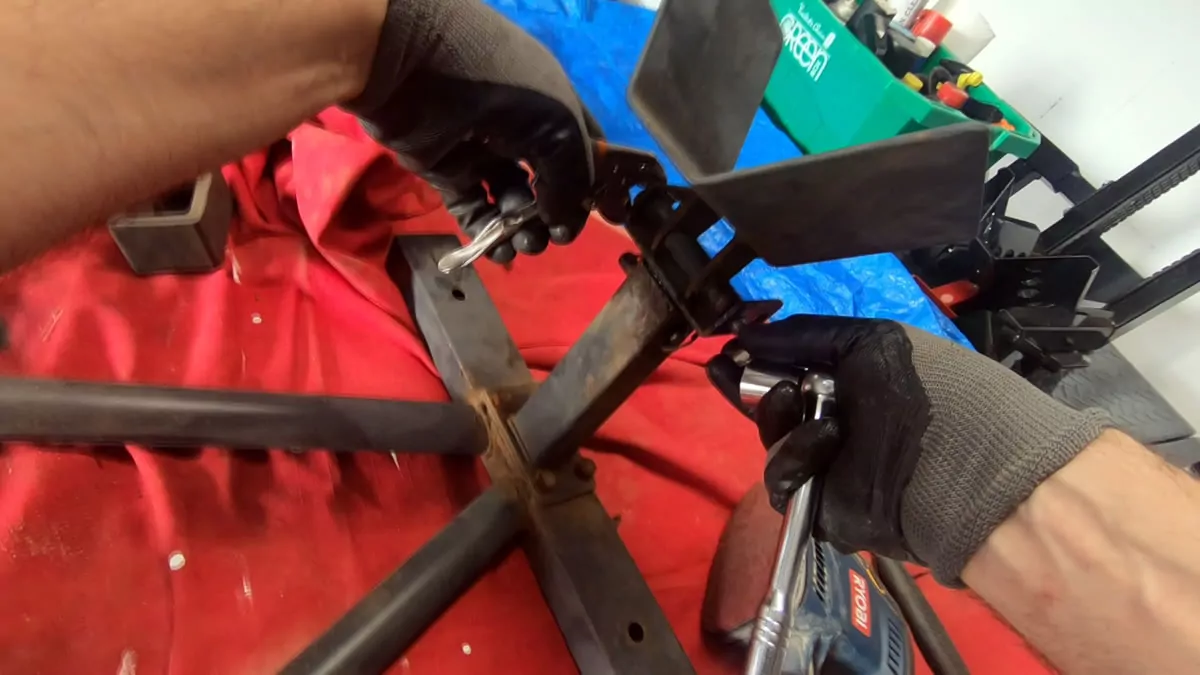
Step 2: Take some stuff off if it’s in the way
Admittedly, if you were doing a pro-level job, you would have started with taking everything apart. But we aren’t professionals. We’re motorcyclists who want to spend at most 30 minutes on this and then go out for a ride. So when you’re done sanding, if you find some places were impossible to reach, take some pieces apart so you can access them with your sander.
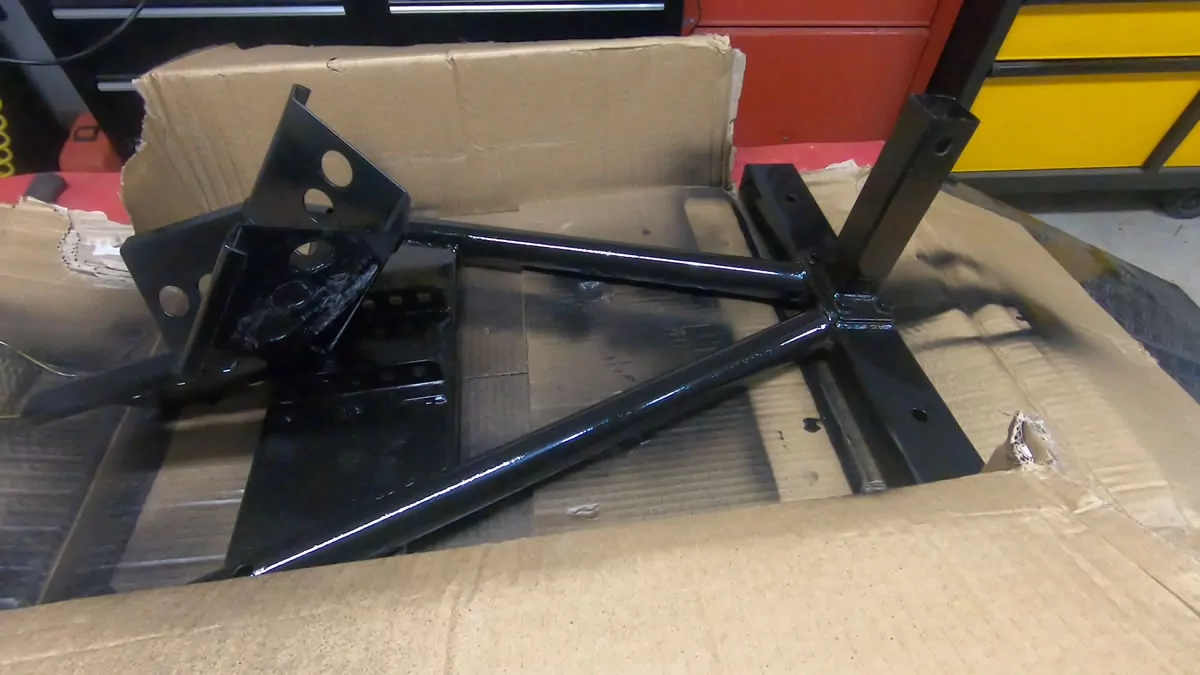
Step 3: Get ready to paint
Once you’ve taken off whatever was in the way and sanded it, prepare a little redneck paint booth. I used a giant cardboard box, and lay down a tarp and some old curtains underneath it in case of any run-off.
You’ll want to spread everything out as much as you can. You may also find things like cables or metal wire helpful for hanging parts while you paint them. If you have nothing like that, wait until your girlfriend is busy lotioning, then take one of her metal clothes hangers and cut it into a long metal wire.
Step 4: Paint
Paint with literally any aerosol can you have lying around, but the more hardy or outdoorsy it is, the better. I used a can of Rustoleum Pro Enamel that I had lying around the garage. It’s commonly used by scooter riders to repaint their exhausts which otherwise often turn brown from surface rust.
If you don’t have any rattle cans lying around, I’d recommend a can of Tremclad Rust Paint. It’s super durable, has great bonding to whatever surface it lands on, and provides solid protection from rust in the future. Overall it’s an excellent shell to protect your motorcycle wheel chock from the elements.
Step 5: Re-assemble
Once you’re done painting you’ll need to walk away for some time. While paints from Tremclad and Rust-Oleum claim to dry within a couple hours, I decided to play it safe and go inside to see if the lotioning was done yet, and it was time to make another shower necessary.
The next morning, I returned to my task, put my wheel chock back together, and stood back to admire my far-from-perfect-but-soooo-much-better-than-it-used-to-be work. Total time on the project: 35 minutes.
Final thoughts
I once again love my Black Widow 2 Piece Motorcycle Wheel Chock as much as I did when I wrote my review on it. I think in two more years I’ll use some paint stripper and give it a proper sanding down to bare metal and repaint it. It’s not hard to keep an old motorcycle wheel chock looking new, and it’s not hard to keep an old motorcycle looking new either.
Overall, despite the surface rust that formed from two years of neglect out in the salt, I liked the wheel chock enough to order a second one. But my new one got painted with an extra top coat layer before I put it outside. If you want to know if that helped or not, ask me for the comparison three years from now.