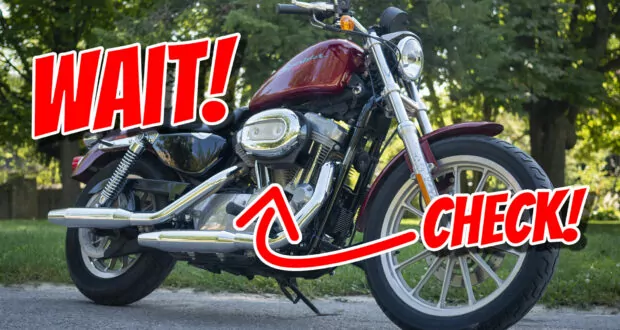
Are you considering buying a Harley-Davidson Sportster and want to get the best deal while avoiding any unpleasant surprises? Great! In this guide, we’ll go through a detailed 50-item checklist to help you thoroughly inspect a used Sportster before making your purchase.
Introduction
Hi! I’m Adrian from YouMotorcycle. I make videos that help motorcyclists. Today I’ll be helping you make an informed decision about buying a used Harley-Davidson. By the end of this video and article, you’ll know how to spot potential issues on a used Sportster. This information could save you a lot of time and energy both on your upfront purchase cost, as well as on the long term cost of ownership of your Sportster. Let’s get started!


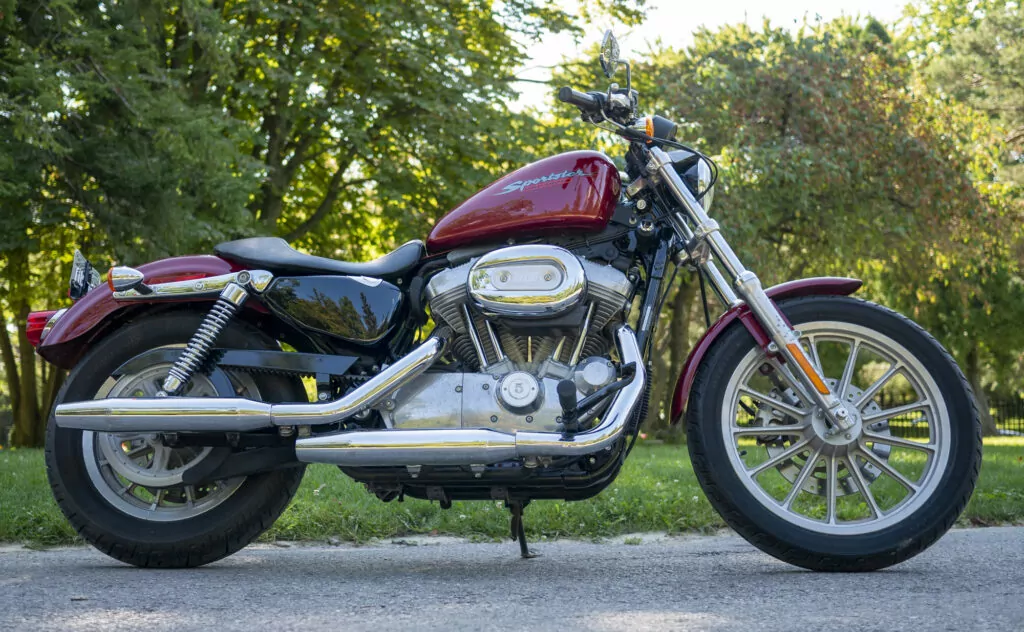
Exterior Inspection
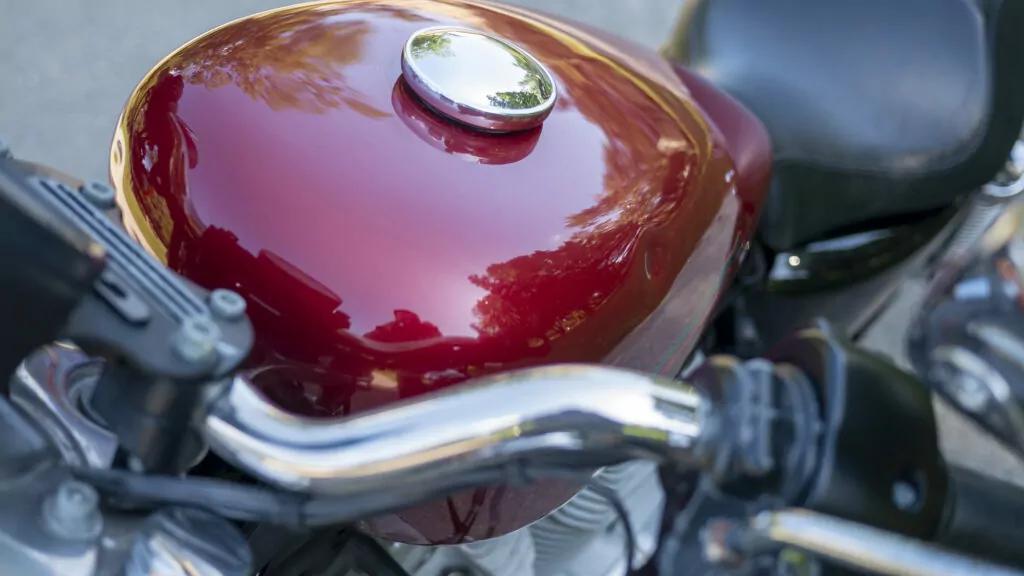
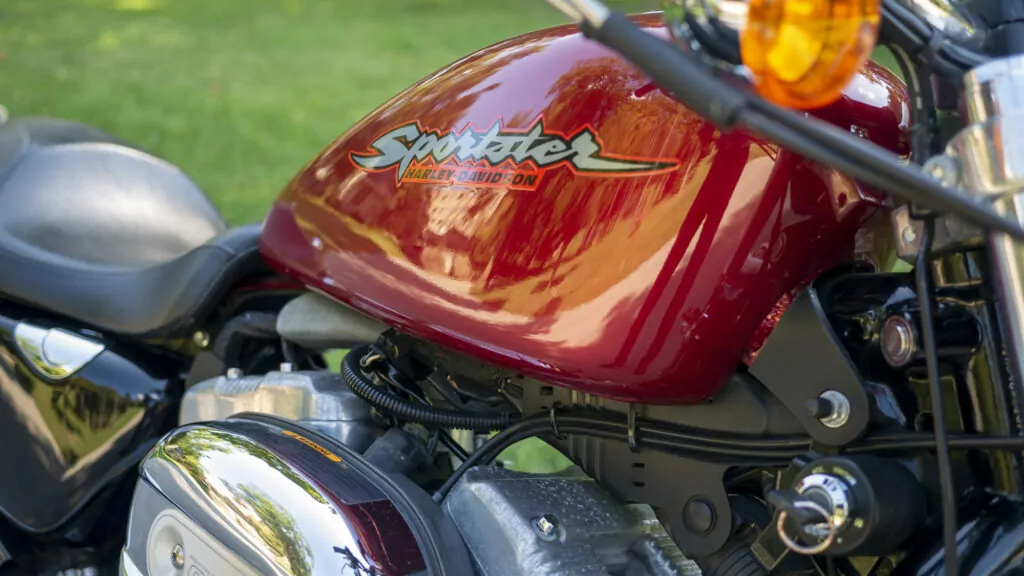
Let’s start with an exterior examination of the bike, beginning with the fuel tank. Don’t just look at the tank from a distance. You should get up close and run your hands over it to feel for any dents or imperfections. Pay close attention to any potential dents near the handlebars, which could be a sign of a past accident, or of aftermarket handlebars without proper clearance.
Next, examine the Harley’s fenders and fairings. Look carefully for any scratches, signs of rubbing, or other damage. Even small scratches can lead to rust if left untreated.
Check the seat for bulges, tears, or owner modifications. Be sure to sit on it for a while to really get a feel for it. Sometimes modifications may not be immediately apparent, like when a shorter rider removes some foam from under the seat cover.
Inspect the paint, chrome, and finish for signs of wear, such as chipping or rust. A bike’s age is a factor, but excessive wear may indicate inadequate maintenance.
Front End Examination
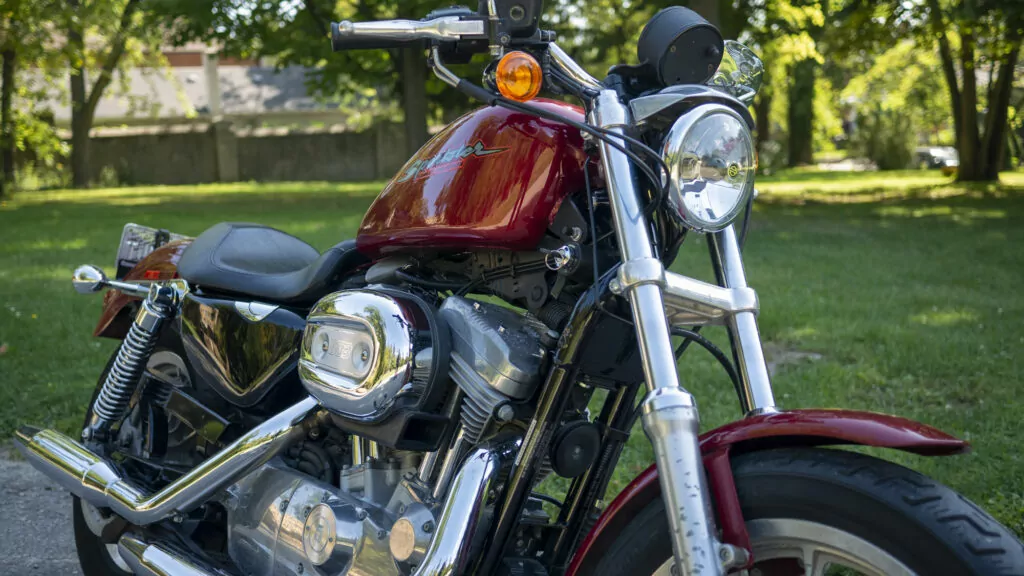
Moving on to the front end, inspect the forks for any signs of damage, rust, or pitting. Surface-level pitting can often be corrected with some effort. Also, check for balance weights on the wheel. A missing balance weight may suggest imbalanced tires.
Examine the windshield for scratches and mounts. Determine if a windshield was previously installed and inquire about its condition.
Rear End Inspection
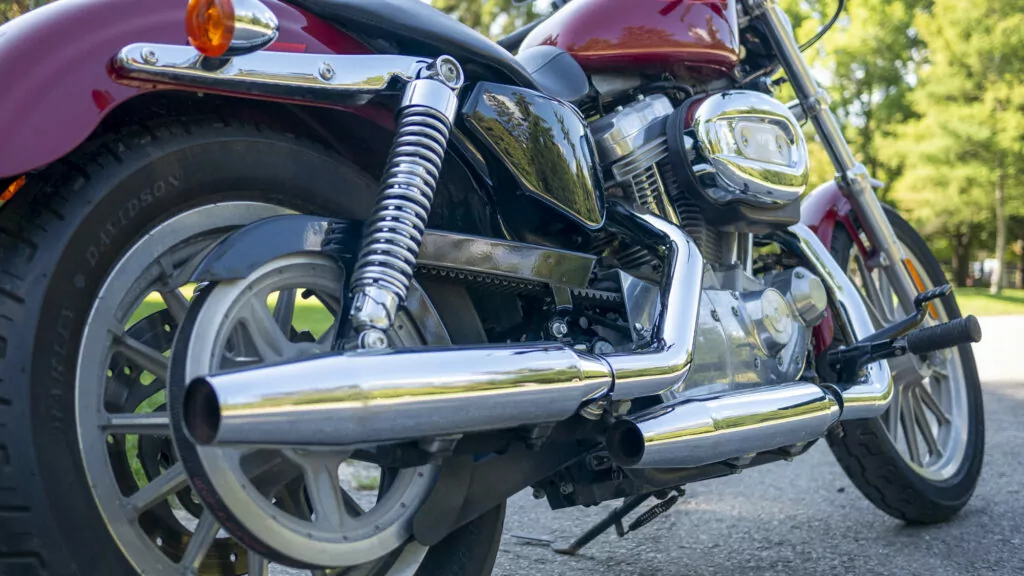
For the rear end, perform a similar inspection as you did for the front. Check the suspension’s condition by sitting on the bike and assessing the sag. Aftermarket shocks may be an improvement.
Inspect the rear tire for tread depth, and use a tread depth gauge to measure it. A tread depth of three or less may warrant replacement.
Handlebars, Controls, and Switches
Check the grips for any free play or spinning. Ensure that the throttle snaps back properly and examine the throttle’s tension adjuster.
Verify the functionality of the kill switch, starter button, turn signals, high and low beam headlights, horn, and all control switches. Confirm that indicator lights are working correctly.
Tires, Wheels, and Pulleys
Measure the tread depth of both the front and rear tires. Tires with a tread depth of three or less may need replacement soon. Look for sidewall cracks, which can indicate the age of the tires.
Examine the wheels for balance weights, as missing weights may suggest imbalanced tires. Inspect the rotors for wear and ensure there are no deep ridges.
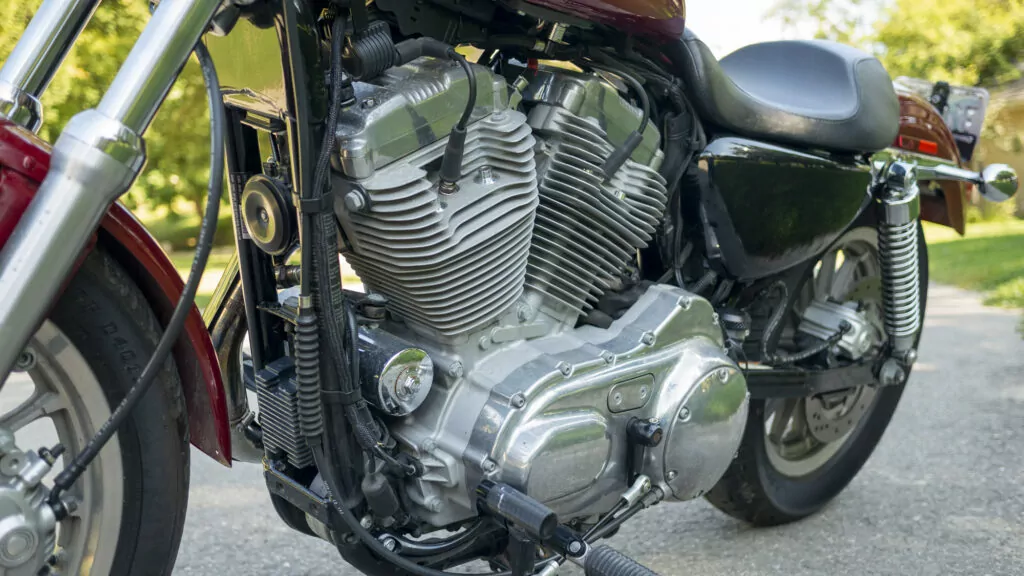
Engine, Transmission, and Clutch
Check the oil level, color, and condition. Properly maintained motorcycles should have clean oil at the correct level. Note any unusual noises when starting the engine.
Listen for any ticking or unusual sounds while the engine is running. Evaluate the exhaust system for modifications and ensure it is in good condition.
Electrical Components
Inspect the battery’s voltage using a multimeter before and after starting the motorcycle. A fully charged battery should read around 12.6 volts. Ensure the voltage remains within the normal range while the engine is running.
Operate all electrical components, including lights, signals, horn, and switches. Check for any signs of electrical problems, such as flickering lights or non-functioning components.
Fuel System
Examine the fuel tank for rust, the color of the gas, and signs of neglect. Ask about the owner’s off-season storage routine to assess fuel system maintenance.
Inspect the fuel lines and petcock (if applicable) for leaks or damage. Ensure the petcock functions correctly in all positions.
VIN and Maintenance History
Verify the motorcycle’s VIN number, which should match the paperwork. Different VIN prefixes may indicate a domestic or international market bike.
Inquire about the maintenance history, including oil changes, air filter replacements, and other regular maintenance. Be cautious if the owner seems hesitant about maintenance details.
Conclusion
By following this comprehensive checklist, you’ll be well-prepared to evaluate a used Harley-Davidson Sportster thoroughly. Remember to ask questions of the seller on any issues you come across during your inspection.
Watch the video above for full details, and if you have any questions leave me a comment! But I have a feeling that you’re now able to confidently make an informed decision on your used Harley-Davidson Sportster purchase, and I hope my guide helps you save yourself time, money, and potential headaches.
Ride safe, but have fun!
Adrian