
POP! The raucous sound of the cork bursting out of your champagne bottle as smiling eyes look at you.
FIZZ! The champagne begins working its way up the neck of the bottle and you hear it over the celebrations around you.
GLUG-GLUG-GLUG! You poor a glass and pass it along to that person who you owe so much to.
And then what?
You throw away the bottle? Seriously dude. That’s it? You’re just going to work your ass off for that project/promotion/engagement/marriage/whatever, and then you’re just going to throw away the bottle?
Hell no, because you’re smarter than that. And you’re a good little saver, too, aren’t ya?! So to hell with that. You’re going to return the bottle and get your $0.10 refund on the empty.
Wait. What? No. Damn it, no! That’s not where we’re going with this.

Listen. Keep the God damn bottle. It’s a symbol of what you worked for. It’s a symbol of the good time you’re about to have. It’s a bond to the people that you’re celebrating tonight/today/this morning with. Well, maybe you’re not having champagne first thing in the morning, but hey, to hell with it, if you are, good on ya!
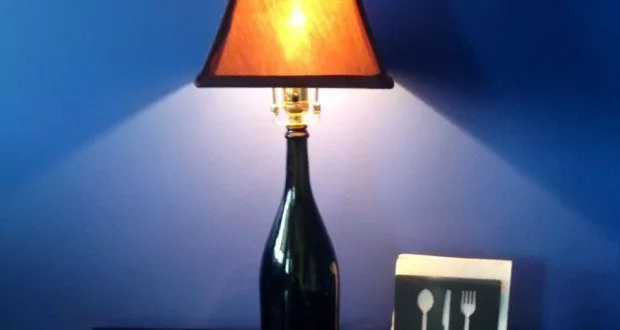
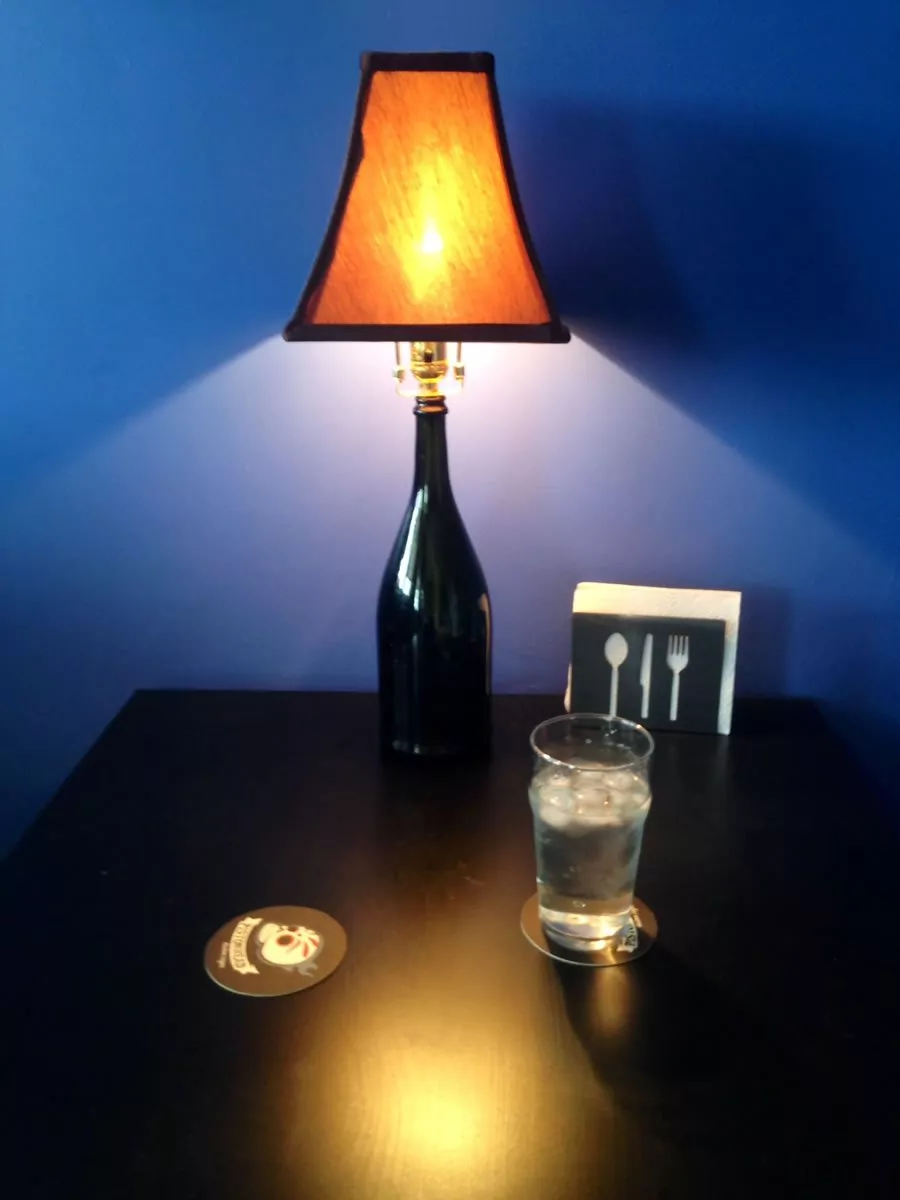
Keep the bottle, and make something out of it. Personally, I recommend making it a table lamp. I think they look great in or around your kitchen, so I’m going to show you how to build a champagne bottle lamp. And sure, you could build a wine bottle lamp too… but I wanted to hold on to a celebration, and not just being a wino on a Friday night.
What you’ll need:
- Bottle
- 4 Pc. Bosch Glass Drill Bit Set
– I used these, you can use any other drill bits made for glass
- Westinghouse Lighting Make-A-Lamp Kit
– I used an identical kit from my hardware store
- Power Drill – I bought this Black & Decker with 100 accessories
for it’s bang-for-buck value
- Sink or bucket with water
- Lampshade (optional)
You’ll be grinding glass bits, so you may want hand/eye/mouth protection. I didn’t use any, but you probably should, because people actually like you.
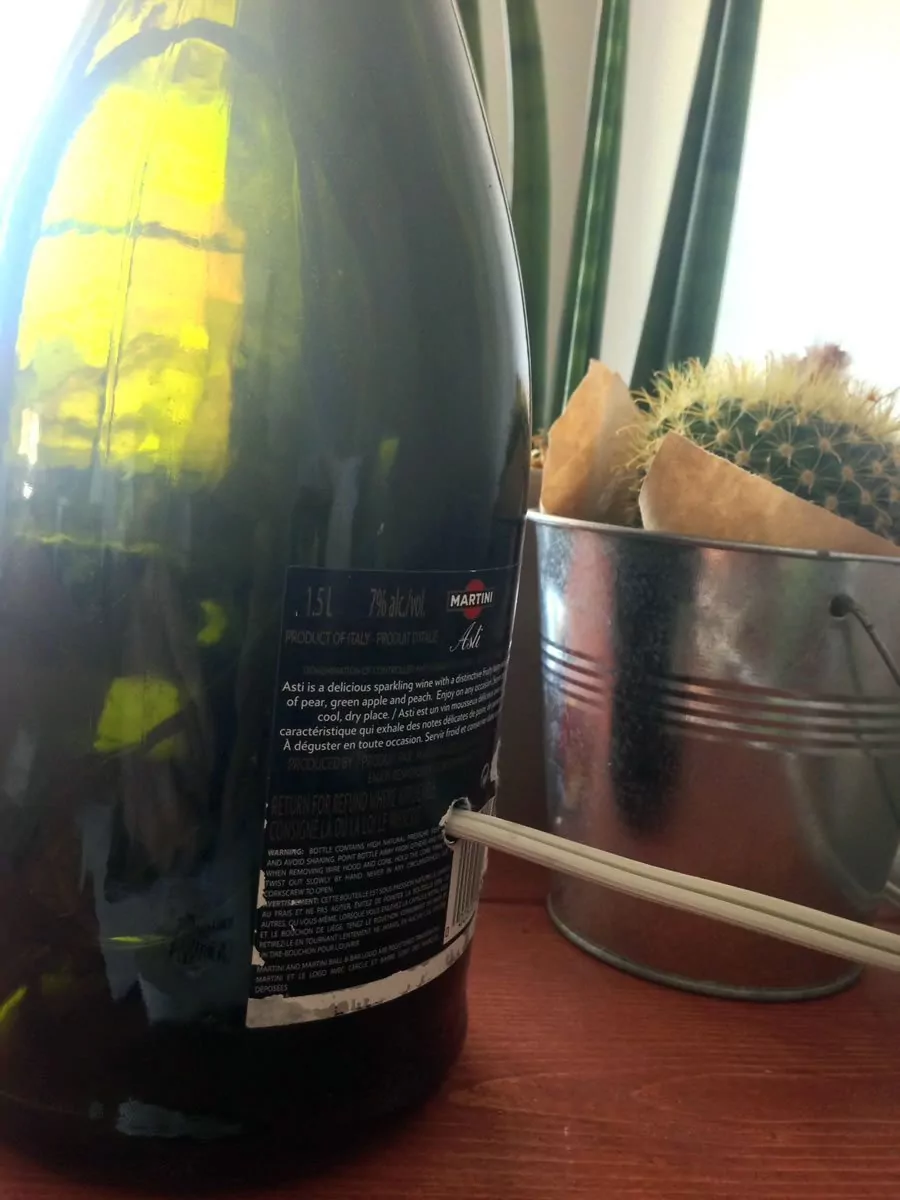
Step 1: Drill hole in bottle
You should drill near the bottom, on the back side of the bottle.
Put tape over the area you’ll be drilling through. It will help.
Put the bottle in your sink or bucket and fill it with water so that the water level just barely covers the surface of the bottle where you will be drilling.
The water helps to keep the surface you’re drilling cool. Glass drill bits can be fragile as they have intense work. Keeping the area wet helps preserve those drill bits and gets the job done.
Start with your smallest sized drill bit and gradually work your way up. You need a hole big enough to fit the wiring through, like this:
Step 2: Follow the light kit instructions
Your light kit comes with instructions. They’re very good and they’re very specific to your setup. Rather than generalize and potentially give you advice that might not apply to you, I’m telling you to read those instructions, and pay special attention to these three things:
The order the pieces go together in.
How to knot the wires for safety.
Which wires goes to which terminals.
Step 3: Invite your friends over
If you haven’t already, pick a lamp shade that fits your decor, and then invite some friends over. Tell them to bring their favourite bottles (still full) and get started on making new champagne bottle lamps and wine bottle lamps.
Or maybe just invite a special someone who you don’t say the words “I love you” to often enough.
Step 4: Fix
My champagne bottle lamp had an issue, and I suspect other champagne bottle lamps might as well. The cork that comes with lighting kits seems to be designed for something with a neck similar to that of wine bottles. Wine bottle necks are typically narrower than champagne bottle necks, and the cork might be loose or fall in. The end result is a wobbly lamp shade, and a champagne bottle lamp that looks a little more ghetto than glamour.
We can fix that.
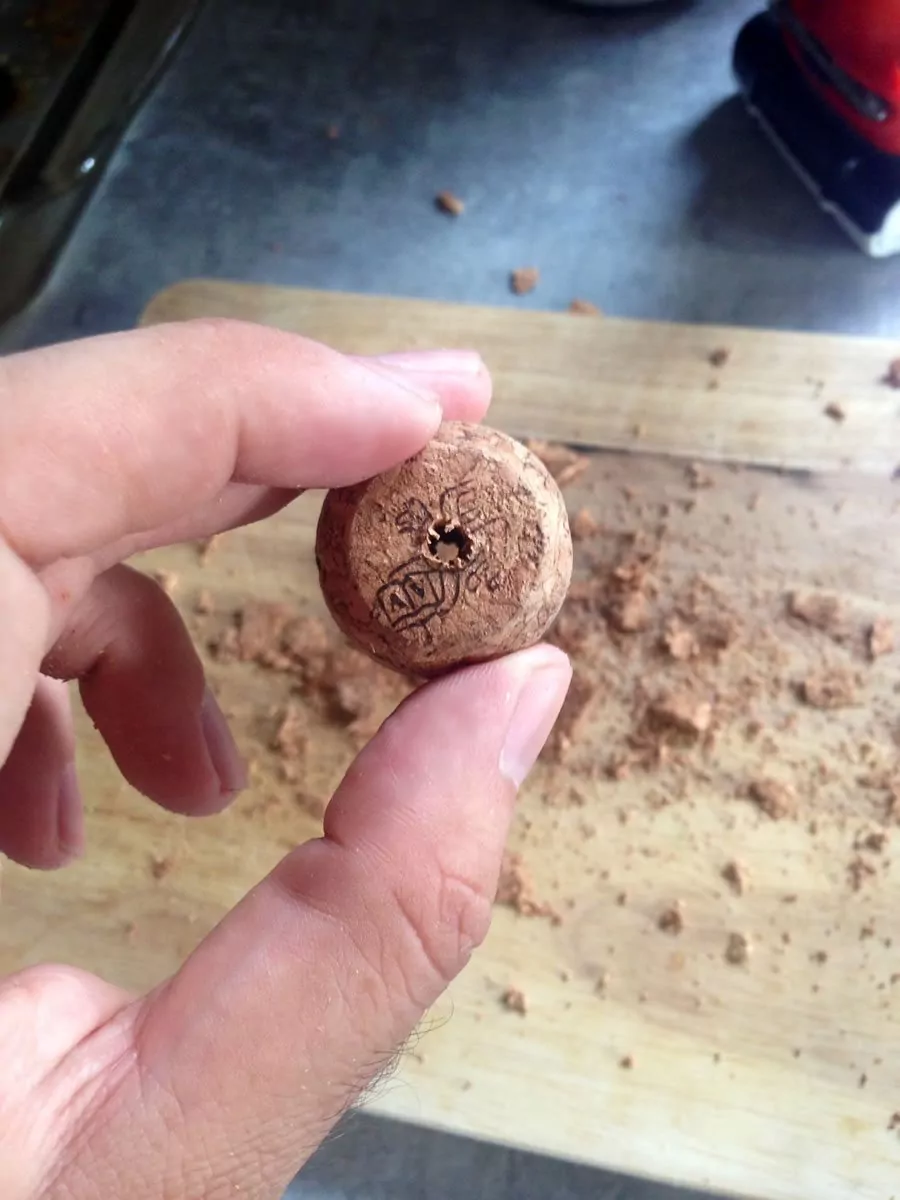
Get a champagne bottle cork. Hey, look at that, another excuse to pop a bottle! You’re welcome.
Cut the sides of the cork’s base until it can be forced down into the bottle.
Remove the cork from the bottle and drill a hole down the center of the cork with regular drill bits.
Run the wiring through and rebuild your lamp.

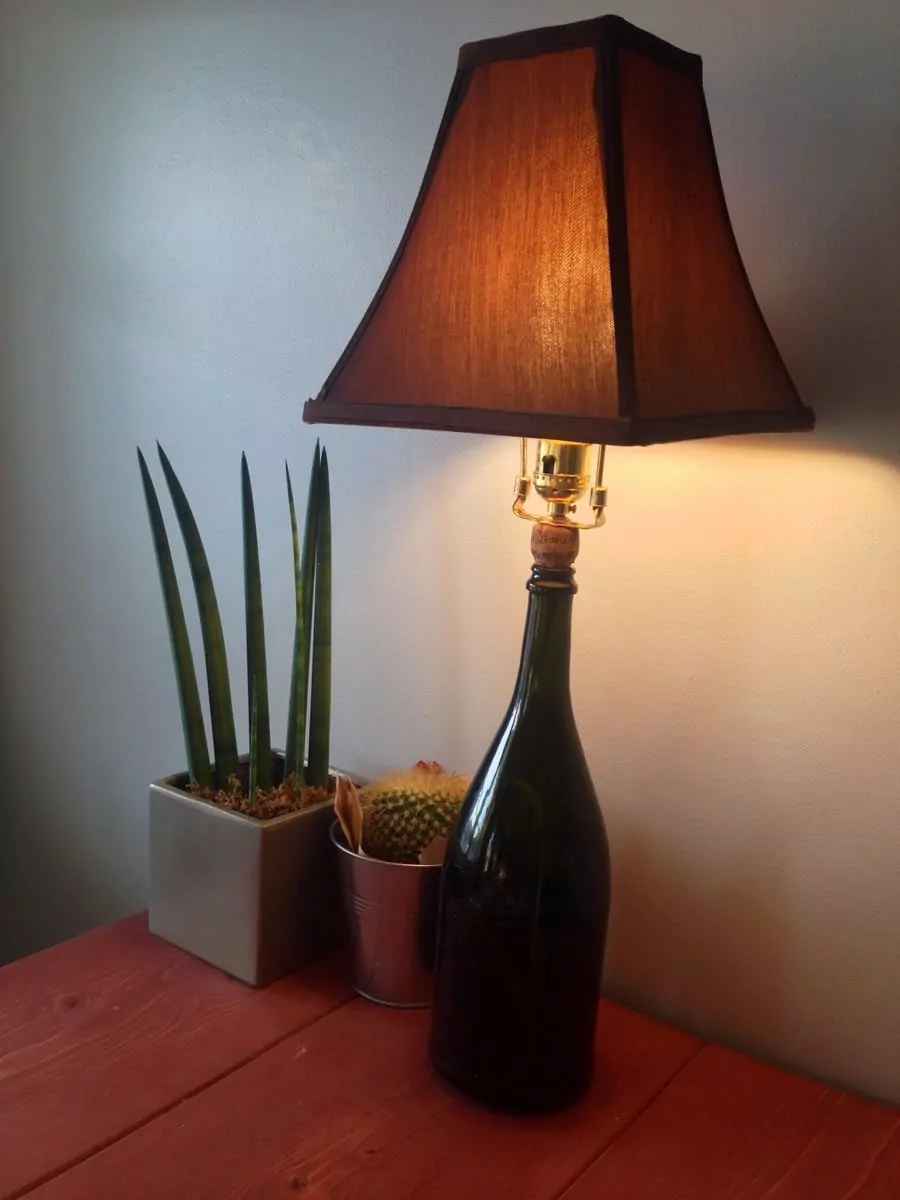
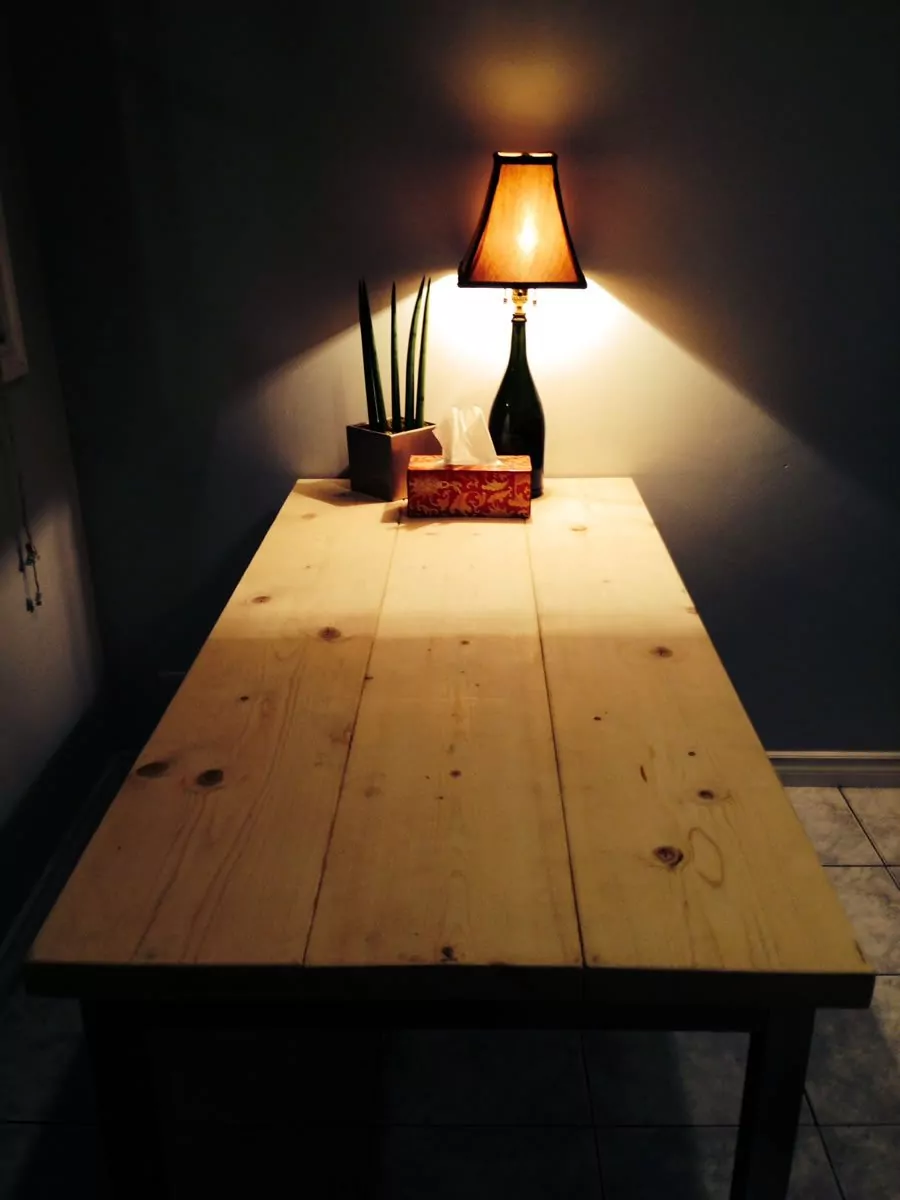
So that’s how to build a champagne bottle lamp. The whole project cost me about $30 and took about an hour, although if I had to do it again it would take me much less.
Let us know how your build went in the comments, and hit us up with questions.
Cheers!